If you’re a lover of all things sweet and salty, you’re in for a treat! Salted caramel cake is one of the most irresistible combinations, pairing the rich, buttery sweetness of caramel with a hint of salt that enhances the flavor profile. In this comprehensive guide, you’ll learn everything from the origin of salted caramel to step-by-step instructions for making a delicious salted caramel cake at home.
Introduction to Salted Caramel Cake
Salted caramel has made its way into the hearts and stomachs of dessert lovers around the world. From salted caramel ice cream to decadent salted caramel brownies, this flavor profile has proven to be both versatile and universally beloved. But what makes salted caramel cake stand out?
In simple terms, it’s the balance of flavors. The sweetness of the caramel combined with a dash of salt creates an intriguing, mouth-watering experience. Salted caramel cake is a perfect dessert for special occasions or for when you simply want to treat yourself or loved ones to something decadent and unforgettable.
History and Origin of Salted Caramel
The creation of salted caramel is often credited to French pastry chef Pierre Hermé in the late 20th century. Hermé introduced a salted butter caramel macaron, which sparked a global trend that continues to this day. The concept of blending sweet and salty, however, predates Hermé by centuries, especially in regions like Brittany, France, where salted butter has always been a staple in cooking.
Today, salted caramel is no longer just a niche delicacy; it has become a mainstream flavor, appearing in everything from candies to cakes. But among all these adaptations, the salted caramel cake stands out as a classic that highlights the contrasting yet harmonious flavors in every bite.
Why Salted Caramel Cake Is a Crowd Favorite
What sets the salted caramel cake apart from other desserts is its ability to balance complexity with simplicity. Whether you’re hosting a formal event or just enjoying a cozy night in, this cake is always a hit. Here’s why it’s so beloved:
- Flavor Balance: The contrast between the rich caramel sweetness and the slight saltiness is incredibly satisfying.
- Texture: The cake layers are moist and fluffy, while the salted caramel frosting adds a smooth, creamy texture.
- Versatility: You can adapt the recipe for different tastes, adding chocolate, fruits, or nuts for variety.
To create the best salted caramel cake, it’s crucial to use high-quality ingredients. Learn more about making caramel to get the perfect balance of flavors in your homemade cake.
How to Make Salted Caramel Cake: A Step-by-Step Recipe
Now, let’s get into the heart of this guide—how to make the perfect salted caramel cake at home. This recipe breaks down each component: the cake layers, the salted caramel sauce, and the frosting.
Ingredients You Will Need
- 2 ¼ cups all-purpose flour
- 2 ¼ teaspoons baking powder
- ¾ teaspoon salt
- ¾ cup unsalted butter, room temperature
- 1 cup granulated sugar
- 3 large eggs, room temperature
- 1 ½ teaspoons vanilla extract
- ½ cup homemade caramel (room temperature)
- 1 cup milk, room temperature
For the Salted Caramel Sauce:
- 1 ½ cups granulated sugar
- 1/3 cup water
- 225 ml heavy cream (room temperature)
- ¾ cup unsalted butter (room temperature)
- ½ teaspoon sea salt, or to taste
For the Salted Caramel Swiss Meringue Buttercream:
- 5 large egg whites
- 1 2/3 cups dark brown sugar (packed)
- 2 cups unsalted butter, cubed, room temperature
- ½ cup homemade caramel (room temperature)
- Optional: Salt to taste for salted caramel buttercream
1: Make the Salted Caramel Sauce

Before you can assemble your cake, you’ll need to make the salted caramel sauce. Here’s how to do it:
- Combine the sugar and water in a medium pot over medium-high heat. Stir gently until combined, but stop stirring once the sugar dissolves.
- As the sugar begins to caramelize, use a pastry brush dipped in water to brush down the sides of the pot and prevent crystals from forming.
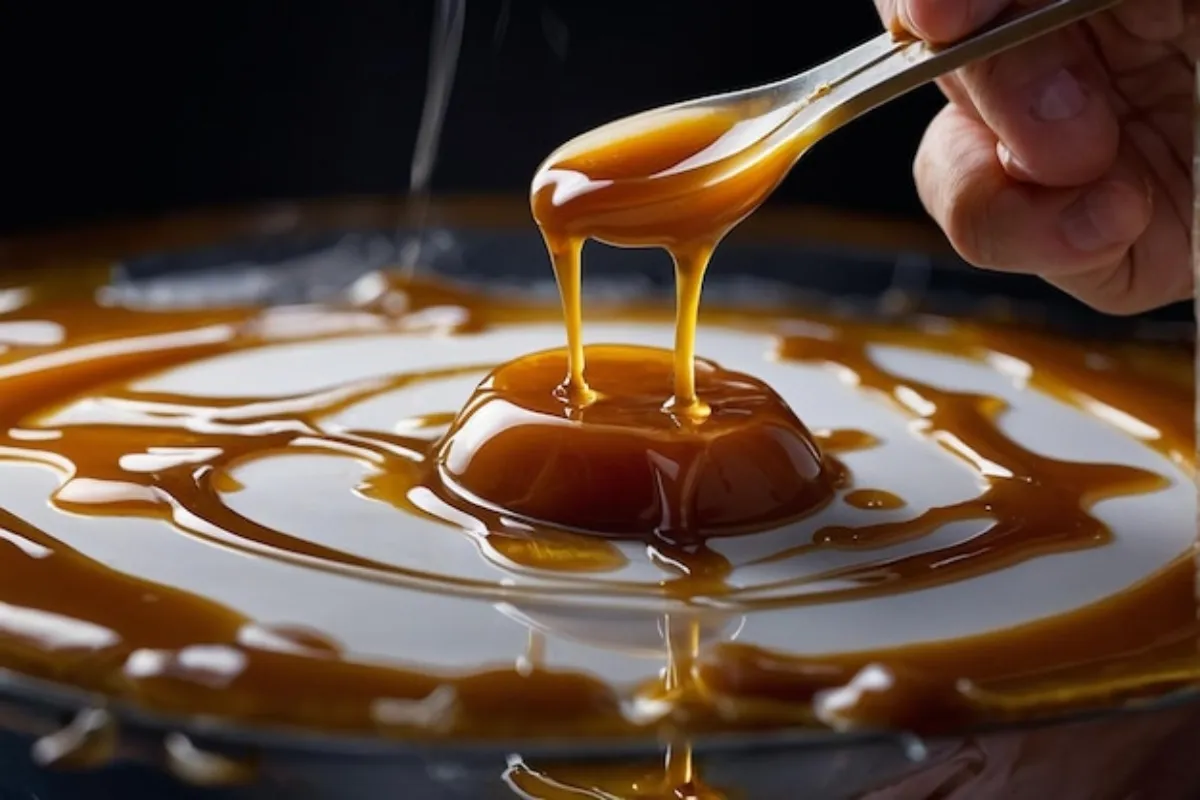
- Watch closely for the color to turn amber. Once it reaches this stage, immediately remove the pot from heat and slowly whisk in the room-temperature cream. The mixture will bubble vigorously—this is normal!
- After the cream is fully incorporated, add the butter and whisk until smooth.
- Add the sea salt, tasting as you go. For a mild salted caramel, start with ¼ teaspoon; for a stronger flavor, add up to ½ teaspoon.
- Set the sauce aside to cool to room temperature. You can refrigerate it if you’re preparing it in advance.
For more detailed tips on making caramel, check out this caramel-making guide.
2: Prepare the Cake Layers
Once your salted caramel sauce is ready, it’s time to bake the cake.
- Preheat your oven to 350°F (180°C). Grease and flour three 6-inch cake pans and line them with parchment paper.
- In a medium bowl, sift together the flour, baking powder, and salt. Set this mixture aside.
- In a stand mixer, cream the butter and sugar on medium-high speed until light and fluffy (about 2-3 minutes).
- Add the eggs one at a time, making sure each egg is fully incorporated before adding the next. Then add the vanilla extract and homemade caramel.
- Alternately add the dry flour mixture and the milk, starting and ending with the flour. Mix until just combined; don’t overmix, as this can lead to a dense cake.
- Divide the batter evenly among the prepared pans and bake for 35-40 minutes, or until a toothpick inserted into the center comes out clean.
- Let the cakes cool in the pans for 10 minutes before transferring them to a wire rack to cool completely.
3: Make the Salted Caramel Swiss Meringue Buttercream
Now, let’s move on to the frosting—the luscious salted caramel Swiss meringue buttercream.
- Place the egg whites and brown sugar in the bowl of a stand mixer. Whisk by hand to combine.
- Set the bowl over a pot of simmering water and continue whisking until the sugar dissolves and the mixture is warm to the touch (about 160°F).
- Transfer the bowl back to the stand mixer and whip on medium-high speed until stiff peaks form and the meringue has cooled (about 5-10 minutes).
- Switch to the paddle attachment and slowly add the butter, one cube at a time, while the mixer is running. The mixture may look curdled at some point, but keep mixing—it will come together.
- Once the buttercream is smooth, add the salted caramel sauce and whip until incorporated. Taste and adjust the salt level if needed for a more pronounced salted flavor.
For tips on perfecting your buttercream, check out this guide to Swiss meringue buttercream.
4: Assembling and Decorating the Cake
With all your components ready, it’s time to assemble the cake.
- Trim the tops of your cake layers if necessary to make them flat.
- Place the first layer on a cake stand and spread a few tablespoons of salted caramel sauce over the top. Follow with a generous layer of Swiss meringue buttercream.
- Repeat with the remaining layers, adding caramel and buttercream between each layer.
- Once the layers are stacked, apply a thin crumb coat of buttercream around the entire cake and refrigerate for 20 minutes to set.
- After chilling, frost the cake with a thicker layer of buttercream. Use an offset spatula to smooth the sides, or experiment with a cake comb to create texture.
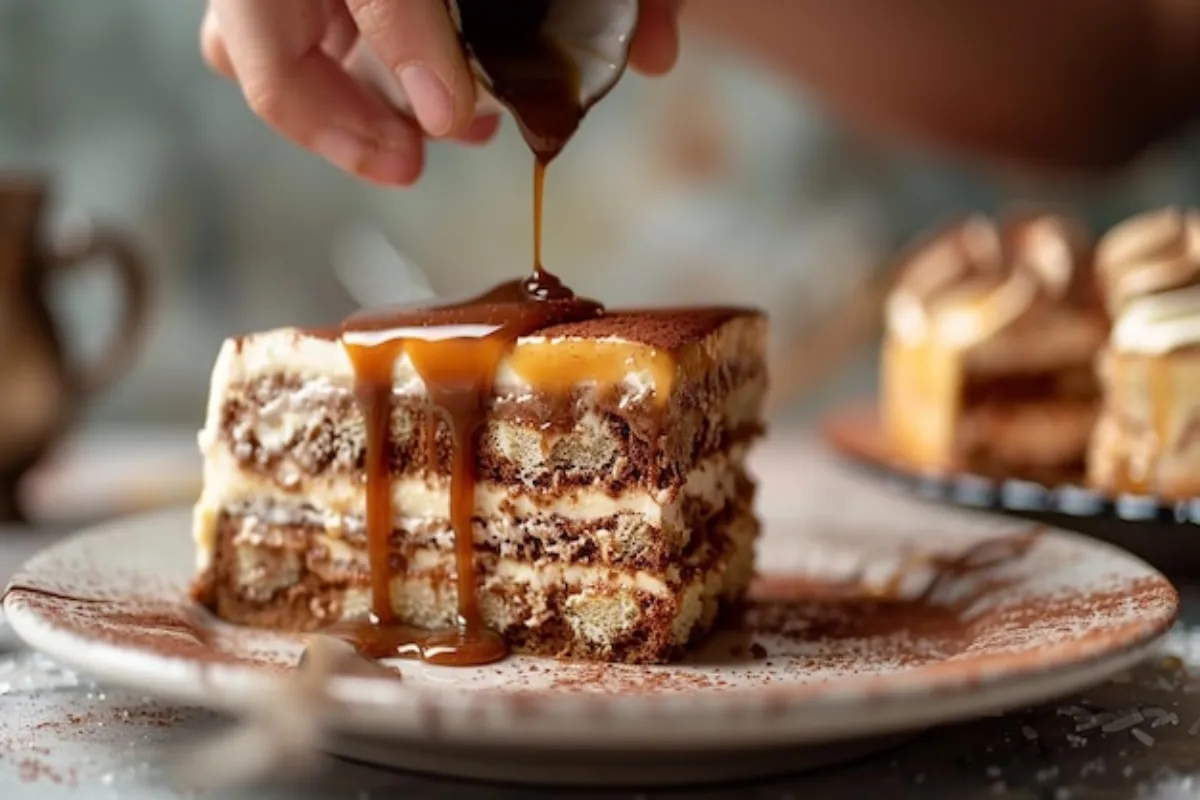
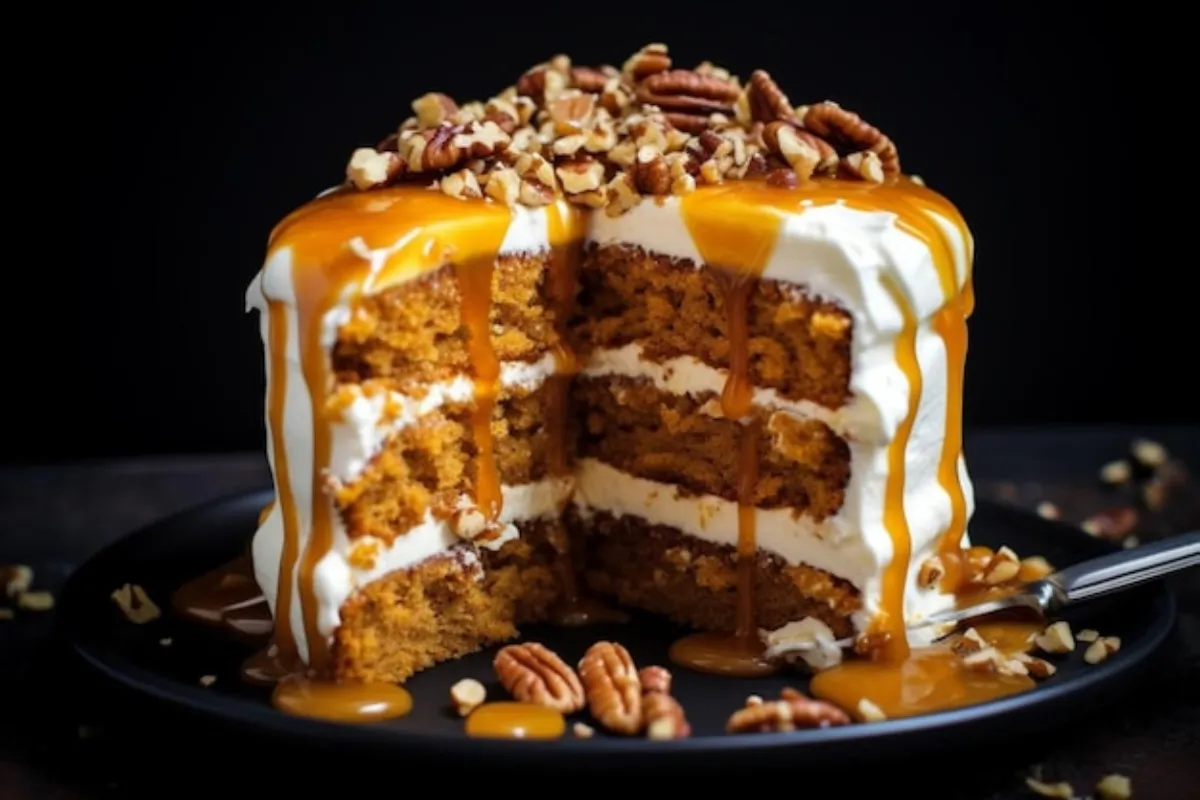
- Finally, pour the remaining salted caramel sauce around the top edges of the cake, allowing it to drip down the sides. You can control the drip using a spoon or a squeeze bottle.
For an extra touch, pipe rosettes around the edges using a 1M piping tip and sprinkle a bit of sea salt over the top for added flavor.
Tips for the Perfect Salted Caramel Cake

Achieving a flawless salted caramel cake takes a little practice, but with these tips, you’ll get it right every time:
- Use Room-Temperature Ingredients: Whether it’s the butter, eggs, or caramel, ensure everything is at room temperature to prevent curdling or separation.
- Monitor the Caramel Closely: Caramel can go from perfect to burnt in seconds, so watch it carefully.
- Chill the Cake Layers: Before frosting, ensure the cake layers are completely cooled or even chilled to make decorating easier and prevent melting buttercream.
Common Mistakes to Avoid
Even experienced bakers can make a few mistakes when working with caramel. Here’s what to watch out for:
- Overcooking the Caramel: Once the sugar turns amber, remove it from the heat immediately. Overcooked caramel becomes bitter.
- Using Cold Ingredients: Cold cream or butter can cause your caramel to seize, so make sure everything is at room temperature.
- Skipping the Crumb Coat: A crumb coat is essential for a smooth finish, so don’t skip this step when decorating.
Variations of Salted Caramel Cake
Looking to switch things up? Here are a few variations you can try:
1. Salted Caramel Chocolate Cake
For a more decadent version, incorporate chocolate into the cake batter or add a layer of chocolate ganache between the layers.
2. Salted Caramel Cupcakes
Turn your cake into cupcakes by reducing the baking time to about 15 minutes. This recipe will make 18–24 cupcakes, depending on size.
3. Vegan Salted Caramel Cake
For a plant-based option, swap out the butter and eggs for vegan alternatives, and use coconut cream for the caramel sauce.
4. Salted Caramel and Fruit
Add a layer of sliced apples or bananas between the cake layers to introduce a fresh fruit element to your cake.
How to Serve Salted Caramel Cake
Salted caramel cake pairs wonderfully with a variety of accompaniments:
- Ice Cream: Vanilla ice cream is a classic pairing for the sweet and salty flavor of this cake.
- Coffee: A strong cup of coffee balances the richness of the caramel and buttercream.
- Fresh Fruit: A side of tart berries can provide a refreshing contrast to the cake’s sweetness.
How to Store and Preserve Salted Caramel Cake
This cake can be made ahead of time and stored for later enjoyment.
- Refrigeration: Store the assembled cake in an airtight container in the refrigerator for up to 3 days. Allow the cake to come to room temperature before serving.
- Freezing: You can freeze the cake layers (without frosting) for up to 2 months. Wrap each layer tightly in plastic wrap, followed by aluminum foil to preserve freshness.
Nutritional Information
For those curious about the nutritional breakdown, here’s an estimate per serving (for a cake serving 12):
- Calories: 944 kcal
- Carbohydrates: 91g
- Protein: 7g
- Fat: 62g
- Saturated Fat: 39g
- Cholesterol: 222mg
- Sodium: 222mg
- Sugar: 72g
FAQs on Salted Caramel Cake
Can I make the caramel in advance?
Yes, you can make the caramel sauce up to a week in advance. Store it in an airtight container in the fridge and warm it slightly before using.
How do I make the cake less sweet?
To balance the sweetness, you can reduce the sugar in the cake batter slightly or add extra salt to the caramel sauce and frosting.
How long does Salted Caramel Cake last?
Properly stored, salted caramel cake lasts up to 3 days in the fridge. For longer storage, freeze the unfrosted cake layers for up to 2 months.
What type of salt should I use for salted caramel?
Sea salt or fleur de sel are ideal for salted caramel, as they provide a balanced, nuanced saltiness without being overpowering.
Can I use a different type of frosting?
Absolutely! While Swiss meringue buttercream is the traditional choice for this cake, you can substitute it with cream cheese frosting or even whipped ganache.
Conclusion
Salted caramel cake is the perfect combination of sweet and salty, moist and fluffy, and rich yet light. With this guide, you can confidently bake and decorate a stunning cake that’s sure to impress any crowd. Whether you’re making it for a birthday, holiday, or just because, this cake is a true showstopper that tastes just as good as it looks.
Now, gather your ingredients, follow the steps, and enjoy a piece of homemade salted caramel cake that will make you the star of your kitchen!
