When you think of a classic red velvet dessert, your mind might drift toward the ever-popular red velvet cake. However, imagine the vibrant, luxurious taste of red velvet in the form of chewy, fudgy brownies. Red velvet brownies blend the best of both worlds—the rich chocolate flavor of brownies and the velvety smooth texture of red velvet. This recipe is here to introduce you to the perfect treat for any occasion, whether it’s a cozy night in, a festive celebration, or just an everyday indulgence. For those who want to master their brownie-making skills, check out these baking techniques for perfect brownies. Get ready to dive into the world of red velvet brownies with this ultimate recipe that promises deliciousness with every bite!
Why Choose Red Velvet Brownies?
The combination of red velvet and brownies might seem unconventional, but it’s a match made in dessert heaven. Red velvet brownies are softer and more tender than traditional brownies, thanks to their unique ingredients like buttermilk and vinegar, which enhance their flavor and texture. The deep, ruby-red color creates an eye-catching dessert, while the subtle cocoa undertones set them apart from regular chocolate brownies. With the right balance of chocolate, butter, and a hint of tanginess from the vinegar, these brownies deliver a satisfying, rich taste that stands out in the world of baked goods.
Ingredients for Red Velvet Brownies: A Comprehensive Overview

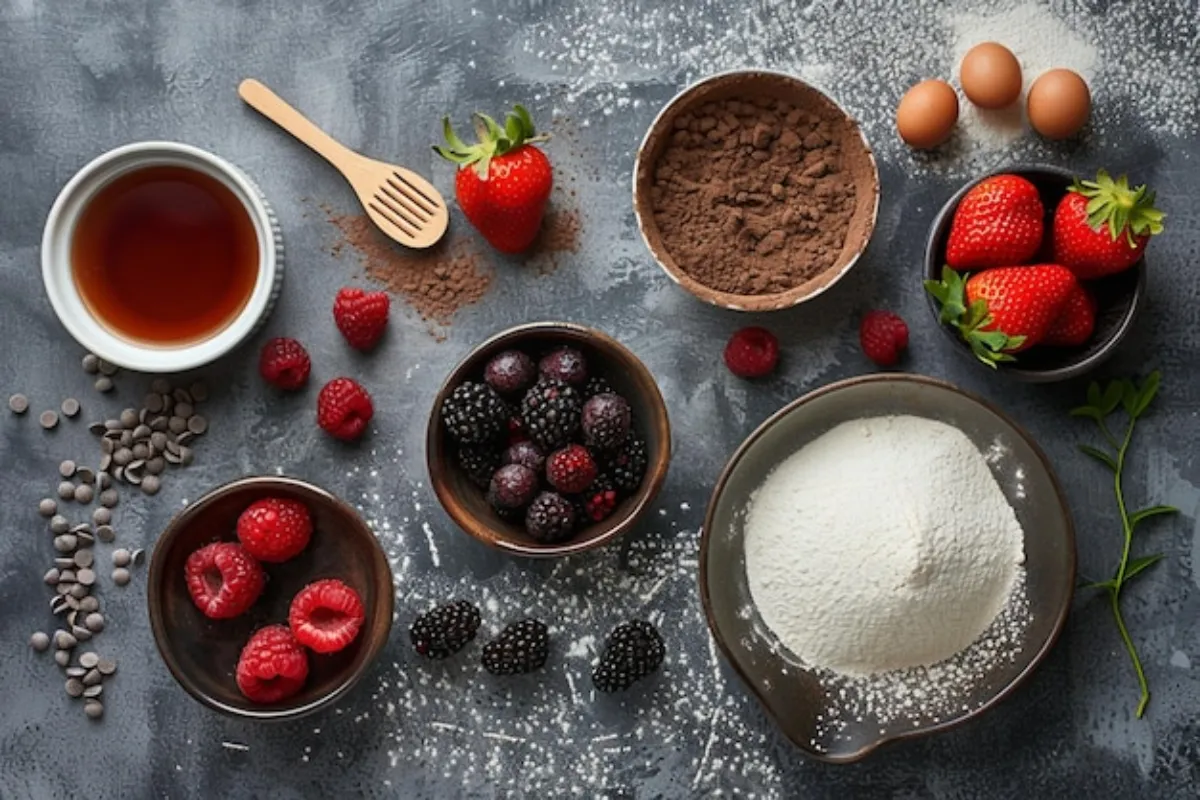
The success of this recipe depends on the quality and balance of ingredients. Here’s a detailed breakdown of what you’ll need to create these irresistible red velvet brownies:
1. All-Purpose Flour
- Flour forms the base of the brownies, giving them structure. Use all-purpose flour for the ideal texture, but feel free to substitute with gluten-free flour if needed.
2. Cocoa Powder
- This is key to giving the brownies their signature red velvet flavor. The small amount of cocoa provides a hint of chocolate without overpowering the velvet smoothness.
3. Granulated Sugar
- Sugar not only sweetens the brownies but also contributes to their moist texture. It helps to create that delightful crackly top synonymous with the perfect brownie.
4. Butter
- Use unsalted butter, melted. Butter gives the brownies richness and a moist, fudgy texture. You can also substitute with margarine or a vegan alternative if needed.
5. Eggs
- Eggs bind the ingredients together, adding moisture and richness. For a fluffy texture, ensure the eggs are at room temperature before mixing.
6. Red Food Coloring
- This gives the brownies their iconic red hue. You can use gel or liquid food coloring, but keep in mind that gel tends to provide a more vibrant color. If you prefer a natural option, beet juice is an excellent alternative.
7. Vinegar
- The addition of vinegar might sound unusual, but it’s crucial for authentic red velvet flavor. Vinegar reacts with the baking soda, giving the brownies a subtle tang and enhancing their moist texture.
8. Vanilla Extract
- A dash of vanilla rounds out the flavor profile, adding depth to the chocolate and sweetness.
9. Cream Cheese Frosting (Optional)
- While these brownies are delightful on their own, topping them with a smooth layer of cream cheese frosting elevates the experience to new heights.
Substitutions: For those looking for dietary alternatives, you can use coconut sugar instead of granulated sugar or almond flour in place of all-purpose flour. Experimenting with ingredients is part of the fun in baking!
Essential Tools for the Recipe
Before starting, make sure you have the following tools ready:
- Mixing Bowls: For combining ingredients.
- Whisk and spatula to mix and fold the batter.
- 9×9 baking pan: the ideal size for thick, fudgy brownies.
- Parchment Paper: For easy removal and clean-up.
- Measuring cups and spoons: for precise measurements.
Red Velvet Brownie: Step-by-Step Instructions
Ready to start baking? Follow this detailed guide for perfectly chewy, vibrant red velvet brownies.
1: Preparation

- Preheat Your Oven: Set the oven to 350°F (175°C) and line a 9×9 baking pan with parchment paper, leaving a bit of overhang for easy brownie removal.
- Gather Ingredients: Measure out all ingredients to ensure a smooth baking process. Use room-temperature eggs and melted butter to create the best texture.
2: Mixing the Batter
- Dry Ingredients: In a large bowl, sift together 1 cup of all-purpose flour, 2 tablespoons of cocoa powder, and a pinch of salt. Sifting helps to combine the dry ingredients and removes any lumps, which results in a smoother batter.
- Wet Ingredients: In another bowl, whisk together 1 cup of granulated sugar and ½ cup of melted butter. Add 2 large eggs, one at a time, whisking until fully incorporated. Stir in 1 teaspoon of vanilla extract and 1 tablespoon of red food coloring until evenly mixed.
- Combine: Slowly add the dry ingredients to the wet mixture. Use a spatula to fold the batter gently. Be careful not to overmix, as this can result in tough brownies.
- Vinegar Activation: In a small cup, mix 1 teaspoon of white vinegar with ½ teaspoon of baking soda until it bubbles, then quickly fold it into the batter. This step adds a slight tanginess and enhances the fudgy texture of the brownies.
3: Baking Instructions
- Pour the batter into the prepared baking pan, spreading it out evenly with a spatula.
- Place the pan in the oven and bake for 20-25 minutes, or until a toothpick inserted into the center comes out with a few moist crumbs (not completely dry).
- Tip: Check the brownies around the 20-minute mark to prevent overbaking. The key to fudgy brownies is slightly underbaking them, allowing them to continue setting as they cool.
4: Cool Down
- Remove the pan from the oven and place it on a wire rack. Allow the brownies to cool in the pan for at least 10 minutes. This step is crucial to avoid crumbling when cutting into squares.
- Once cooled, lift the brownies out of the pan using the parchment paper overhang. Transfer to a cutting board and slice into squares.
5: Cream Cheese Frosting (Optional)
- Ingredients: In a bowl, beat together 4 oz of cream cheese, 2 tablespoons of unsalted butter, 1 cup of powdered sugar, and 1 teaspoon of vanilla extract until smooth and creamy.
- Application: Spread the frosting evenly over the cooled brownies using a spatula. For an extra decorative touch, add a swirl or sprinkle some crushed red velvet cake crumbs on top.
- Allow the frosting to set for about 10 minutes before serving.
Tips for Perfect Red Velvet Brownies
Achieving the Perfect Texture
- Use Room Temperature Ingredients: This helps to create a more homogeneous batter, leading to a smoother texture.
- Avoid Overmixing: Stir the batter until the ingredients are just combined. Overmixing can lead to tough brownies.
- Baking Time: Slightly underbake your brownies to achieve that desired fudgy texture. The center should be set but not fully solid when you take it out of the oven.
Color Tips
- For a vibrant red color, use gel food coloring rather than liquid. Adjust the amount depending on the shade you prefer. If using natural coloring like beet juice, the hue might be slightly different, but it still adds a beautiful touch.
Troubleshooting
- Dry Brownies: If your brownies turn out dry, try reducing the baking time by a few minutes next time. Adding an extra egg yolk can also enhance the moisture content.
- Uneven Baking: Ensure your oven rack is in the center and the oven is fully preheated before placing the brownies inside.
Variations and Add-ons
Red Velvet Brownie Variations
- Chocolate Chip Red Velvet Brownies: Add ½ cup of chocolate chips to the batter before baking for an extra burst of chocolate in every bite.
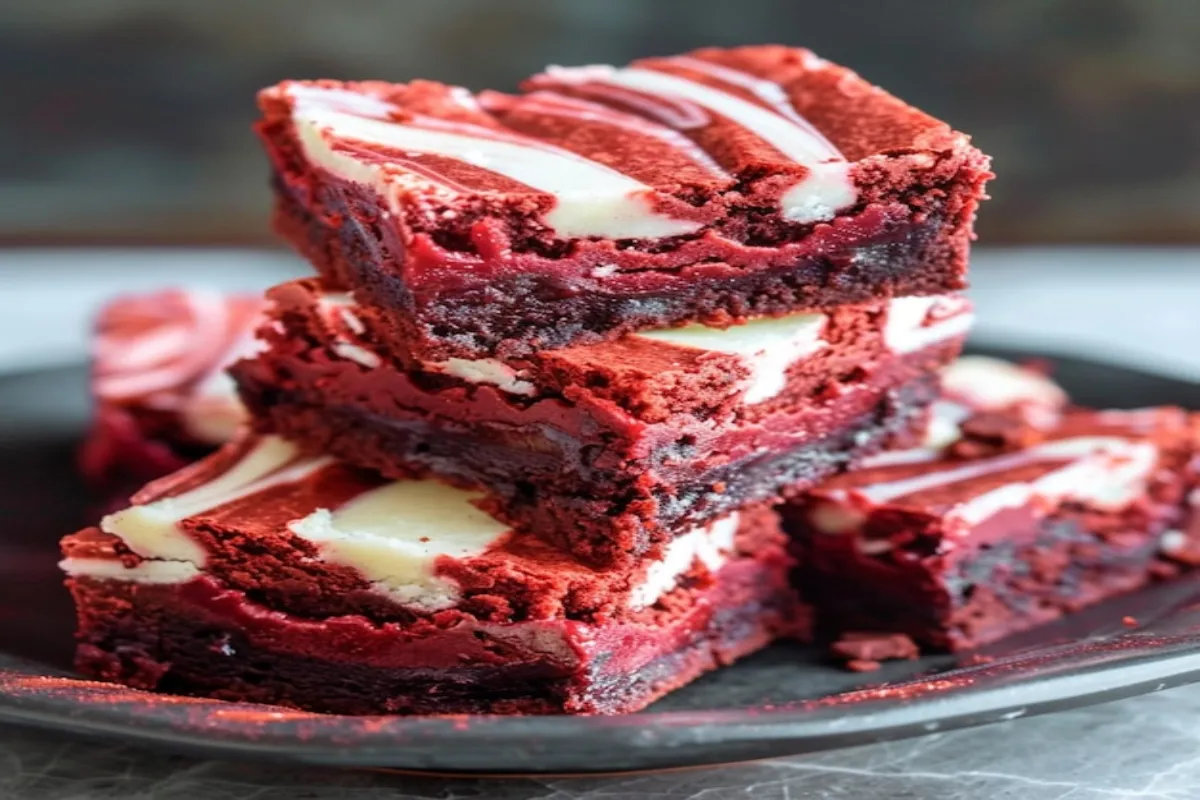
- Cheesecake Swirl: Prepare a quick cheesecake mixture with 4 oz of cream cheese, 1 egg, and ¼ cup of sugar. Drop spoonfuls onto the brownie batter and swirl with a knife before baking.
- Nutty Delight: Fold in ½ cup of chopped walnuts or pecans to the batter for a crunchy texture.
Serving Suggestions
How to Serve
- Serve red velvet brownies as-is or with a dollop of whipped cream on top. For a dessert plate, drizzle with chocolate sauce and garnish with fresh berries.
- They make for perfect holiday treats, party favors, or after-dinner indulgences. Pack them in decorative boxes with parchment paper layers for gifting.
Storage and Shelf Life
Storage Tips
- Store brownies in an airtight container at room temperature for up to 3 days. To extend their shelf life, keep them in the refrigerator for up to a week.
- Freezing: If you want to save some for later, wrap the brownies individually in plastic wrap and place them in a freezer-safe bag. They can be frozen for up to 2 months. To enjoy, thaw at room temperature for a few hours before serving.
Frequently Asked Questions
Can I Make Red Velvet Brownies Without Food Coloring?
Yes! Substitute beet juice or pomegranate powder for a natural red hue. Keep in mind that the color may be more subtle than using artificial food coloring.
How to Achieve a Fudgy Texture in Red Velvet Brownies?
The secret to fudgy brownies is the right flour-to-butter ratio and avoiding overmixing. Additionally, baking for a shorter time helps maintain moisture.
What Makes Red Velvet Brownies Different from Regular Brownies?
The addition of cocoa powder, vinegar, and food coloring sets them apart. They have a subtle chocolate flavor with a tangy undertone, creating a unique dessert experience.
Can I Add Frosting to My Red Velvet Brownies?
Absolutely! A layer of cream cheese frosting not only complements the flavor but also adds a delightful creamy texture.
How to Store Leftover Brownies?
Store leftovers in an airtight container at room temperature or in the refrigerator. For longer storage, wrap and freeze as described earlier.
Nutritional Information
Each serving of red velvet brownie (without frosting) contains approximately:
- Calories: 210
- Protein: 3g
- Fat: 9g
- Sugar: 20g
These values can vary depending on the specific ingredients and portion sizes used.
Conclusion
Creating red velvet brownies at home is a rewarding experience that combines the joy of baking with the delight of indulging in a rich, chewy, and visually stunning treat. This recipe offers a detailed guide to achieving perfect brownies with the signature red velvet flavor. Whether you choose to enjoy them plain, swirled with cheesecake, or topped with frosting, these brownies are sure to impress. So, gather your ingredients, preheat your oven, and embark on this baking adventure to create your very own batch of delectable red velvet brownies!
