Biscoff Cheesecake: An Introduction
Biscoff Cheesecake has taken the dessert world by storm, merging the beloved flavors of Biscoff cookies with the luxurious creaminess of cheesecake. Originating from Belgium, Biscoff cookies, also known as Speculoos, are famous for their caramelized taste and slightly spiced flavor. Over the years, these cookies have become more than just a coffee companion; they’ve become a key ingredient in a variety of desserts, with Biscoff Cheesecake being one of the most popular.
The allure of Biscoff Cheesecake lies in its simplicity and indulgence. Whether you prefer a no-bake version or a classic baked cheesecake, this dessert offers versatility and a depth of flavor that’s hard to resist. In this article, we’ll explore everything you need to know to create the perfect Biscoff Cheesecake, from the ingredients and steps to make it to tips and variations that will help you master this dessert.
What is Biscoff?
Traditionally enjoyed during the festive season, Biscoff, a brand name for Lotus Speculoos, is a type of spiced shortcrust biscuit with its roots in Belgium. Their popularity has soared globally, making them a year-round treat. The key ingredients in Biscoff cookies include flour, sugar, vegetable oil, and a unique blend of spices such as cinnamon and nutmeg.
The versatility of Biscoff extends beyond the cookies themselves. Biscoff Spread, made from crushed Biscoff cookies, has become a staple in many households. It has a smooth, creamy texture similar to peanut butter but offers the same caramelized flavor profile as the cookies. This spread can be used as a topping, filling, or even as an ingredient in various recipes, including the beloved Biscoff Cheesecake.
Why Biscoff is Perfect for Cheesecake
Biscoff cookies and cheesecake are a perfect match.
Ingredients for Biscoff Cheesecake
Making Biscoff Cheesecake requires a few simple ingredients, many of which you may already have in your kitchen. Here’s a breakdown of what you’ll need:
the Crust:
- Biscoff Cookies: The star ingredient for the crust, providing a crunchy, flavorful base.
- Butter: You typically use unsalted butter to bind the cookie crumbs together.
- Sugar: Given the sweetness of the Biscoff cookies, adding a small amount of sugar to enhance the sweetness is optional.
For the Filling:
- Cream Cheese: The foundation of the cheesecake filling, providing richness and creaminess.
- The Biscoff Spread adds that signature Biscoff flavor to the filling.
- To sweeten the filling, add sugar.
- Vanilla extractextract enhancesenhances the overall flavor.
- Heavy cream, or sour cream, is used to create a smooth, velvety texture.
- Eggs: Essential for binding the ingredients together in a baked version.
For the toppingtopping:
- Biscoff Spread: Melted and drizzled over the top for added flavor and decoration.
- Whipped cream is optional for a light and airy topping..
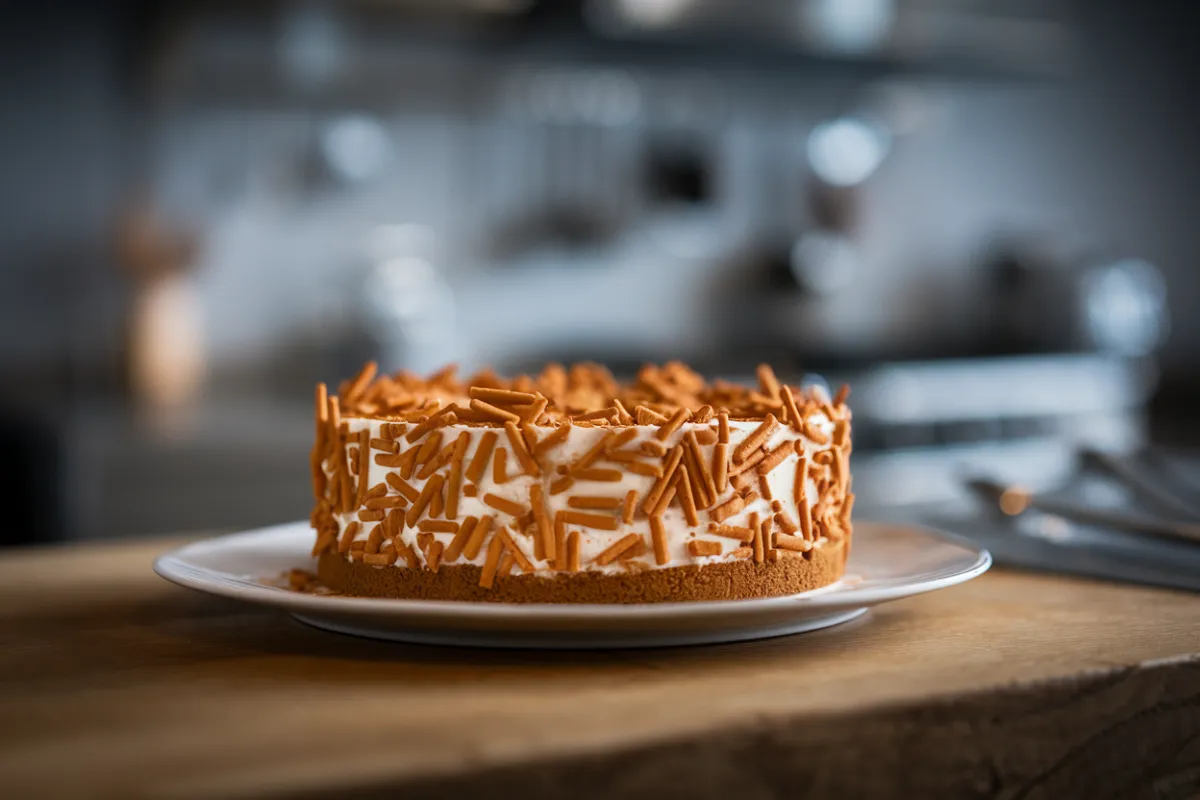
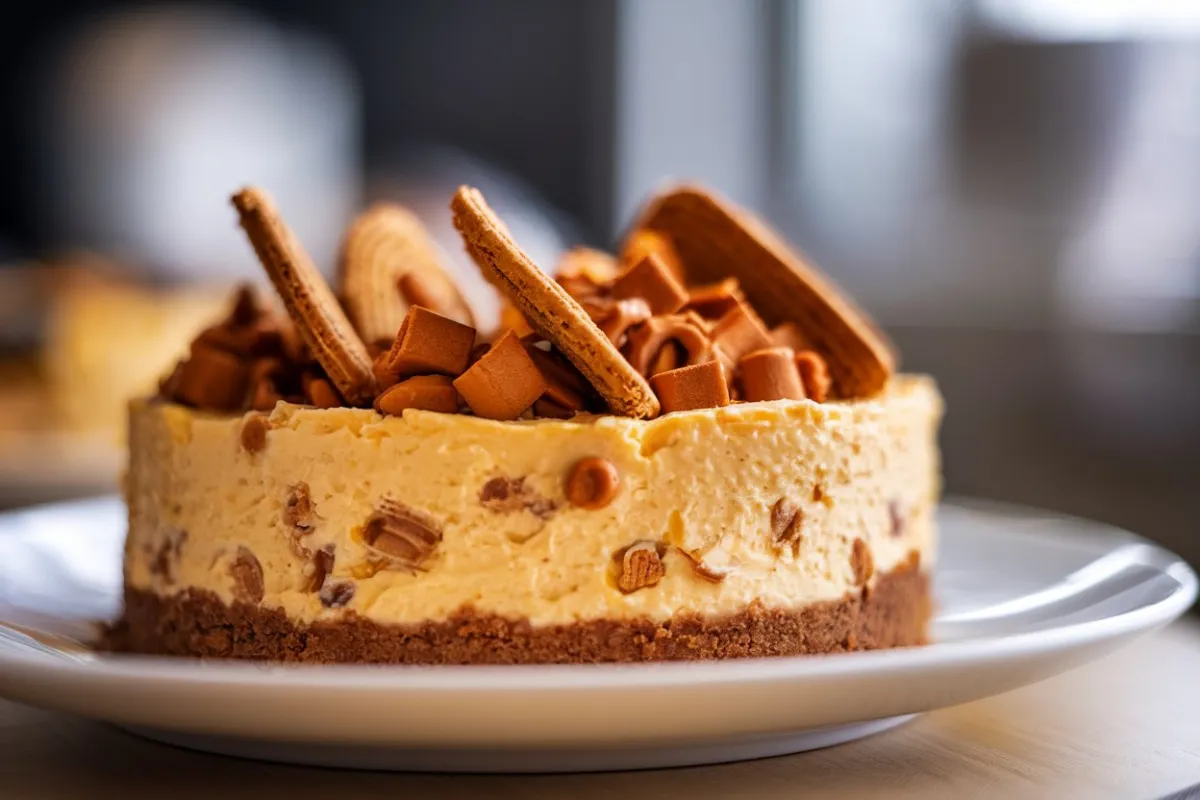
- Crushed Biscoff Cookies: Sprinkled on top for added crunch and presentation.
Variations and Substitutions
- Instead of heavy cream, use dairy-free cream cheese and coconut cream.
- Gluten-Free Option: Substitute gluten-free cookies for the crust.
Making Biscoff Cheesecake: A Step-by-Step Guide

1. Preparing the Crust
The crust is the foundation of any cheesecake, and with Biscoff cookies, you’re starting with a deliciously crunchy base.
- Crush the Cookies: Place Biscoff cookies in a food processor and pulse until they are fine crumbs. Alternatively, you can place them in a sealed plastic bag and crush them with a rolling pin.
- Mix with Butter: In a bowl, combine the cookie crumbs with melted butter. Stir until the mixture resembles wet sand.
- Press into Pan: Press the mixture into the bottom of a springform pan, ensuring an even layer. Use the bottom of a glass to compact the crumbs.
- Chill the Crust: Place the crust in the refrigerator to set while you prepare the filling.
2. Creating the cheesecake filling
Biscoff Spread infuses the creamy layer in the filling, giving it its signature flavor.
- Cream Cheese: In a large mixing bowl, beat the cream cheese until smooth and creamy.
- Add Sugar and Biscoff Spread: Gradually add sugar and Biscoff Spread, continuing to beat until well combined.
- Incorporate the Vanilla and Cream: Add vanilla extract and heavy cream (or sour cream), mixing until the filling is smooth and fully incorporated.
- Add Eggs (for baked version): One at a time, add the eggs, beating just until combined. Be careful not to overmix, as this can incorporate too much air and cause cracks during baking.
3. Putting the cheesecake together
- Pour the Filling: Pour the prepared cheesecake filling over the chilled crust, spreading it out evenly.
- Smooth the Top: For a neat finish, use a spatula to smooth the cheesecake’s top.
- Bake or Chill: This decision depends on whether you’re creating a baked or no-bake cheesecake.
- Preheat your oven to 325°F (163°C) for baked cheesecake, and bake it for 50-60 minutes, or until the center sets but is still slightly jiggly.
- For no-bake cheesecake, simply cover the pan with plastic wrap and refrigerate for at least 4 hours, or overnight, until set.
4. Adding the toppings
The topping is what takes this cheesecake from delicious to extraordinary.
- Melt Biscoff Spread: In a microwave-safe bowl, melt Biscoff Spread for about 20-30 seconds until it’s smooth and pourable.
- Drizzle and Decorate: Drizzle the melted spread over the cheesecake, and use a toothpick to create a swirl pattern if desired. Add whipped cream and crushed Biscoff cookies for extra flair.
- Chill Again: If you’ve added a topping, chill the cheesecake for an additional 30 minutes to ensure everything sets nicely.
5. Serving and Enjoying
Once your cheesecake is fully set, it’s ready to serve. Use a sharp knife to cut clean slices, wiping the blade between each cut for neat presentation.
The Perfect Biscoff Cheesecake: Tips and Tricks

Creating the perfect Biscoff Cheesecake is an art, but with a few tips and tricks, you can ensure your dessert turns out perfectly every time.
1. Achieving a Smooth Texture
- Room temperaturetemperature Ingredients: Ensure all your ingredients, especially the cream cheese, are at room temperature before starting. This helps create a smooth, lump-free filling.
- Don’t Overmix: Overmixing can incorporate too much air into the filling, leading to cracks in the baked version. Mix just until the ingredients are combined.
2. Preventing Cracks in the Cheesecake
- Water Bath: For baked cheesecakes, consider using a water bath. This helps maintain a consistent temperature and adds moisture to the oven, reducing the risk of cracks.
- Don’t Overbake: The cheesecake is done when the edges are set, but the center still has a slight jiggle. It will continue to set as it cools.
3. Enhancing Flavor
- Add a Pinch of Salt: A small amount of salt can enhance the flavors and balance the sweetness.
- Experiment with Extracts: In addition to vanilla, try adding almond or hazelnut extract for a different flavor profile.
Common mistakes to avoid
Even experienced bakers can make mistakes. Here are some common pitfalls to avoid when making Biscoff Cheesecake.
1. Overmixing the batter
- Overmixing can lead to a dense texture and cracks in the cheesecake. Mix just until the ingredients are fully incorporated.
2. Using the wrong type of cream cheese
- Always use full-fat cream cheese for the best texture and flavor. Low-fat or spreadable versions can result in a runny filling that doesn’t set properly.
3. Issues with the Crust
- Ensure the crust is well-packed and even. If it’s too loose, it can crumble when slicing the cheesecake. Use a flat-bottomed glass to press the crust firmly into the pan.
Ideas for serving and presenting
Desserts, including Biscoff Cheesecake, need good presentation. Here are some tips.
1. Creative ways to decorate
- Swirl topping: Using melted Biscoff Spread, create a swirl pattern on top of the cheesecake.
- Layered Look: For a marbled effect, alternate layers of cheesecake filling and Biscoff Spread.
- Whipped Cream Rosettes: Pipe small rosettes of whipped cream around the edge of the cheesecake, and place a whole Biscoff cookie in each one.
2. Pairing with other desserts or drinks
- Biscoff’s caramel and spice notes complement a strong cup of coffee perfectly.
- Ice Cream: Serve a slice of cheesecake with a scoop of vanilla or caramel ice cream for an indulgent treat.
- Fresh Berries: Add a pop of color and freshness by garnishing with raspberries, strawberries, or blueberries.
3. Storing Leftovers
- Refrigeration: For up to five days, store the cheesecake in an airtight container in the refrigerator.
- Freezing: Biscoff Cheesecake freezes well. Wrap individual slices in plastic wrap, then foil, and store in the freezer for up to 3 months. Thaw in the refrigerator overnight before serving.
Nutritional Information
While Biscoff Cheesecake is undeniably indulgent, it’s helpful to be aware of the nutritional content.
- Calories: Depending on the portion size and specific ingredients used, a slice of Biscoff Cheesecake can range from 300 to 500 calories.
- Fat Content: The cream cheese and butter contribute to a high fat content, making this a rich dessert.
- Healthier Alternatives: To reduce calories and fat, consider using low-fat cream cheese and replacing some of the butter with Greek yogurt.
Variations of Biscoff Cheesecake
One of the best things about Biscoff Cheesecake is its versatility. Here are a few variations to try.
1. Mini Biscoff Cheesecakes
- Use a muffin tin to create individual portions. Line each cup with a paper liner, press the crust into the bottom, and fill with cheesecake mixture. Bake or chill as usual. These are perfect for parties or portion control.
2. Biscoff Cheesecake Bars
- Instead of using a springform pan, make your cheesecake in a square baking dish. Once set, cut into bars for a more casual, shareable dessert. This is a wonderful option for potlucks and gatherings.
3. Vegan and Gluten-Free Versions
- For a vegan version, use dairy-free cream cheese and replace eggs with a flaxseed mixture (1 tablespoon flaxseed meal mixed with 3 tablespoons water per egg). Use gluten-free cookies for the crust to accommodate those with gluten sensitivities.
Frequently Asked Questions (FAQs)
1. Can biscoff cheesecake be frozen?
- You can freeze Biscoff Cheesecake by wrapping it tightly in plastic wrap and then in aluminum foil, and you can store it in the freezer for up to 3 months. To serve, thaw it in the refrigerator overnight.
2. How Long Does Biscoff Cheesecake Take to Set?
- For a no-bake cheesecake, it typically takes 4-6 hours to set in the refrigerator. For a forageded cheesecake, allow it to cool at room temperature for an hour, then refrigerate for at least 4 hours, preferably overnight.
3. Is It Possible to Make Biscoff Cheesecake Without a Springform Pan?
- While a springform pan is ideal, you can use a regular cake pan lined with parchment paper. This will make it easier to remove the cheesecake from the pan after chilling.
4. Can I use other spreads instead of biscoff?
- Yes, you can substitute Biscoff Spread with Nutella, peanut butter, or any other spread of your choice. However, keep in mind that the flavor will change accordingly.
5. What is the difference between baked and no-bake Biscoff Cheesecake?
- A baked cheesecake has a denser, richer texture, while a no-bake cheesecake is lighter and creamier. The choice depends on your personal preference.
Conclusion
Biscoff Cheesecake is more than just a dessert; it’s a culinary experience that combines the comforting flavors of Biscoff cookies with the rich, creamy texture of cheesecake. Whether you’re making a classic baked version or a quick no-bake option, this dessert is sure to impress. With the tips, variations, and detailed instructions provided, you’re well on your way to mastering the art of Biscoff Cheesecake.
So, why not give it a try? Experiment with different toppings, play around with the filling flavors, and most importantly, enjoy every bite of your homemade Biscoff Cheesecake. Whether you’re serving it at a dinner party or enjoying a slice with your afternoon coffee, this dessert is guaranteed to delight.
